SL130 查看數據表(PDF) - Extech Instruments Corporation.
零件编号
产品描述 (功能)
比赛名单
SL130 Datasheet PDF : 8 Pages
| |||
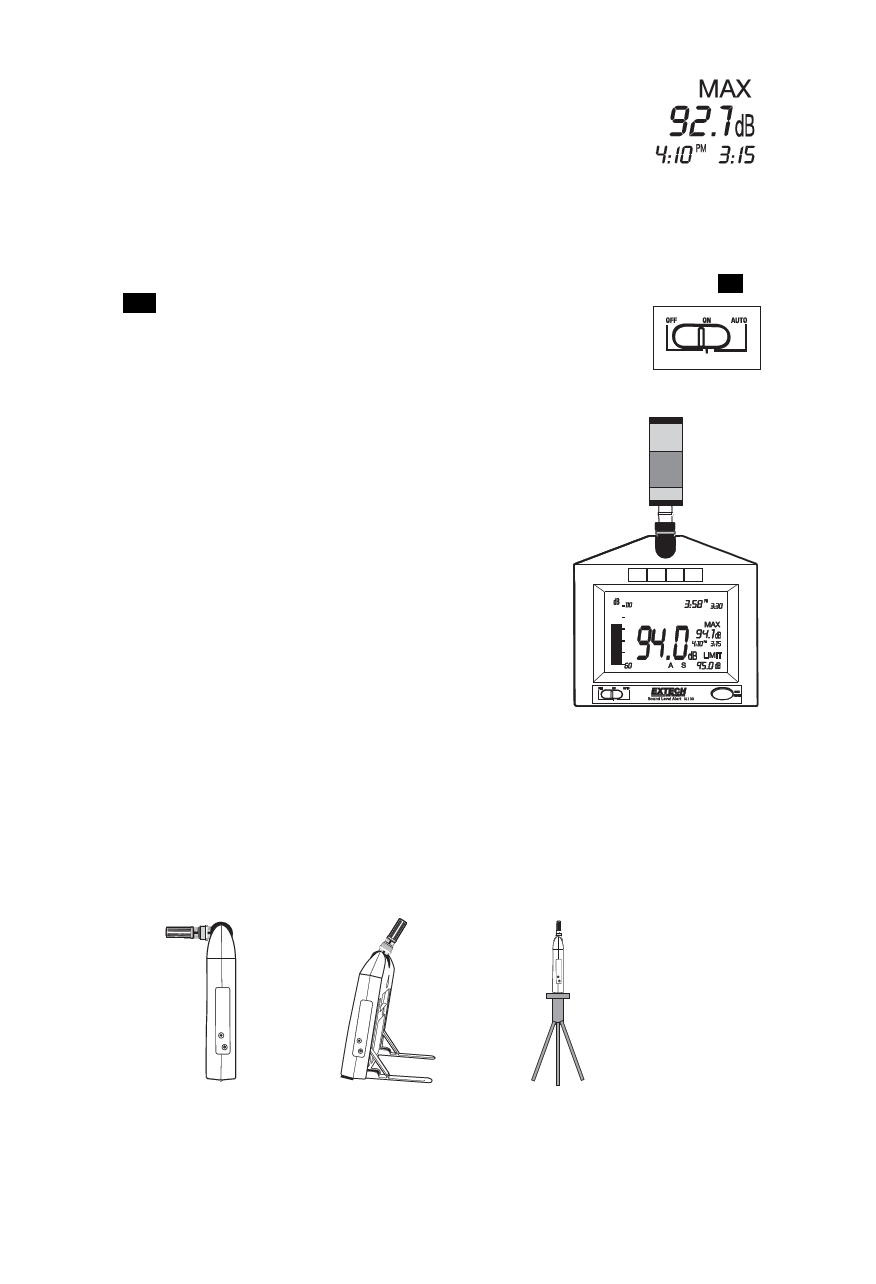
MAX Hold
The MAX display indicates and holds the highest dB level measured
since the meter was turned on or since the Max Reset button was
pressed. The time and date of the max reading is also displayed.
To clear the display and start a new measurement session, press the
front panel MAX RESET button. If the measured level exceeds the
maximum for the range selected the MAX display will indicate “OL” (overload).
Programmable OFF/ON/AUTO time
The meter is powered by 8 AA batteries or via an AC adaptor for permanent installations.
Continuous battery life is approximately 240 hours (10 days). By programming the ON/OFF
time, the battery life can be greatly extended (30 days assuming an 8 hour day). The ON
and OFF times are programmed as described in the initial configuration
paragraph. The meter will operate continuously with the power switch in
the ON position. The ON/OFF time will be controlled by the meter when
the power switch is set to the AUTO position.
Calibration
The sound level meter should be calibrated on a regular basis
to assure that the meter’s performance and microphone
sensitivity has not change. Some operational directives
require daily calibration checks (OSHA). Extech offers several
acoustic calibrators to perform the calibration.
1. Set the meter to the 60 to 110dB or 80 to 130dB range.
2. Place the external calibrator over the Sound Level
Monitor's microphone and turn the Calibrator on.
3. The meter should read close to the calibrator's dB output
level. Typical Calibrator output levels are 94dB and 114dB.
4. If the meter is within ± 0.2 dB of the calibrator’s output, no
adjustment is necessary.
5. Adjust the calibration pot on the rear of the meter to the
proper level.
Meter Placement
The meter can be used Handheld, Wall mounted, Desk mounted or Tripod mounted. For
wall mount operation, orient the microphone perpendicular to the wall to minimize the
affect of acoustic reflections. For desk mounting, extend the rear legs and lock in place
with the hinged locks. The tripod mounting nut is located on the bottom of the unit.
6
Version 3.2 8/07
Share Link: 